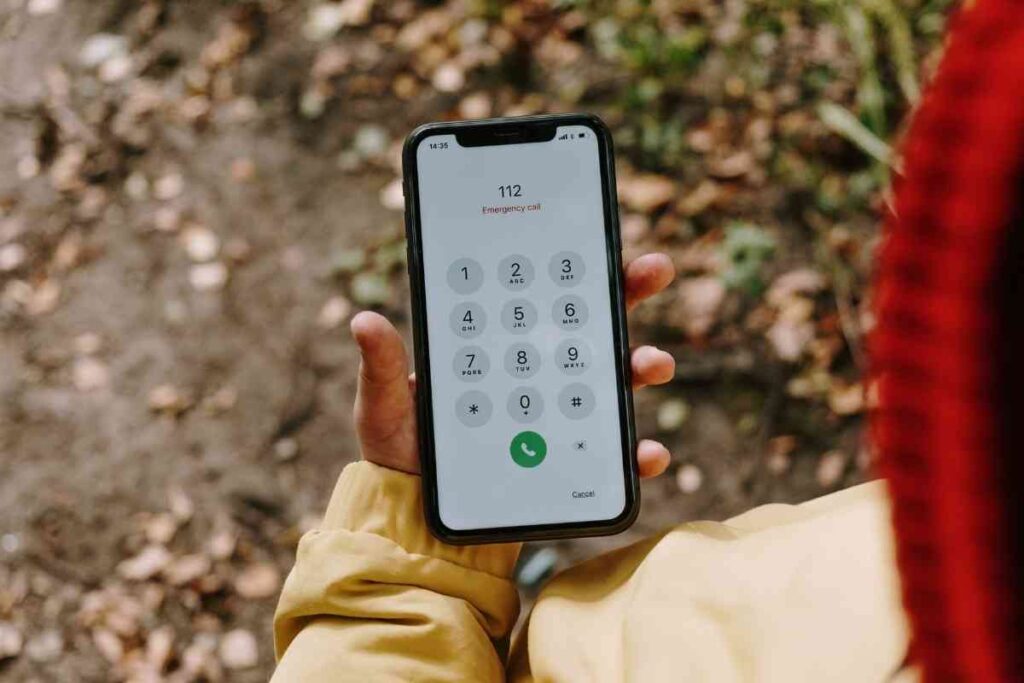
Why are new contacts not saving on my phone? Well, in this article, you will learn how to fix phone won’t save new contact, both for iPhone and Android users.
If you’re an iOS user, a simple reset will solve the problem in seconds; and you may have neglected to grant permissions from your contact settings if you’re an Android user.
This isn’t as complex a problem to solve as most people assume. This issue can occur on either an iOS or Android phone.
If you’re looking for a quick fix or some insider tips, the answer is available. We’ll show you some basic techniques to remedy your difficulty with saving new contacts in the sections below.
How to Fix Phone Won’t Save New Contact (iPhone and Android)
If you can’t save new contacts on your phone, we’ll show you how to fix it in this post. You’ll discover solutions for both iOS and Android phones here.
Let’s get started!
How to Fix iPhone That Won’t Save New Contacts

There are several options for resolving the issue of my phone refusing to save new contacts. We talked about several basic solutions here.
Set the default Contacts to iCloud
If you use this technique, you won’t have to modify the email address that’s already established as your default mailing address. It is possible to do so by switching your default contacts to iCloud.
Step 1: Open your phone and navigate the iPhone’s options menu.
Step 2: Select the iCloud id from the settings menu.
Step 3: Finally, activate the option contacts.
Step 4: Select ” Groups ” on the left-hand side of your screen, and select “Groups.” Select “Groups” from the contacts menu.
Step 5: You must flip all of the groups inside out.
Step 6: Return to settings and scroll to “Default Account” after switching on all groups. Set iCloud as your default account here.
You’ll be able to save new contacts to your iPhone afterward.
Resetting Your Contact Settings
If the method described above does not work, try the following easy approach:
Step 1: To begin, navigate to your iPhone’s interface. On your display, click the Settings option.
Step 2: The header “General Options” will appear when accessing the settings menu. It should be tapped.
Step 3: Next, look for the option “Restrictions” on the screen. Select “Restrictions” from the drop-down menu.
Step 4: On the screen, select “Contacts” from the “Restrictions” menu and tap on it. Permit modifications are now enabled.
We expect this resolves the problem with your iPhone’s contacts saving.
Perform a Hard Reset
If the above technique fails, you can perform a hard reset on your smartphone.
Step 1: Press and keep the side or top power/sleep key and the keypad simultaneously.
Step 2: Press the button down until you see the Apple logo on the screen, then drop the keys.
Step 3: Go into your iPhone’s settings and attempt to save the new contact.
Reset All Settings
You can also try to reset all of your iPhone’s settings. Read the instructions to reset your phone.
Step 1: To begin, go to your phone’s menu and click the settings icon.
Step 2: Next, from the screen, choose general. You will see a “Reset” option available.
Step 3: Select “Reset” and then “Reset All Settings” from the drop-down menu. That should be tapped.
You should be aware that this will return all of your settings to their default state. If “Reset” does not work, your iPhone must be restored.
How to Fix Android That Won’t Save New Contacts

On your Android device, you may potentially encounter new contact-saving troubles. Here, we’ll offer some suggestions to assist you in quickly resolving new contact-saving concerns.
Give your Contact App authorization to view your phone’s storage
Follow the simple steps below to fix your new contact saving problem on your Android phone.
Step 1: Go to your device’s “Phone Menu” and select the “Settings” icon.
Step 2: Select “Apps” from the app settings.
Step 3: A window will open; click on “Menu” and then “Display System.”
Step 4: Next, choose the app you want to use to save new contacts.
Step 5: Next, click the “Permission” option and provide accessibility to your contacts and storage.
Now try saving a new number to your phone.
Delete Contact Information
You can also use the simple steps underneath to resolve the contact details saving problem:
Step 1: To use this technique, you must first store your contacts on an SD card. Go to the phone menu and select “Contact app” to save a duplicate of your contacts.
Step 2: Select “Contacts” from the settings menu.
Step 3: Select “Import/export contacts” and “Export to SD card” from the drop-down menu.
Step 4: After you’ve finished backing up, go to “Settings” on your phone.
Step 5: Select “Application Manager” from the drop-down menu. In the options menu, select it, then select “Contacts app.”
Step 6: Finally, tap “Clear Data.” After all the data is cleared, return the contacts from your SD card standby file.
You could also use “Factory Restore” to recover your phone’s factory settings if none of the methods above work.
You will receive a new phone due to this. Before restoring, make a copy of the database on the SD card.
How do I save changes to my contact information?
When you modify or replace the contacts, they automatically save the changes. You can also add your contacts to Gmail and enable sync.
This will allow Google to automatically update and save any changes to your contacts.
Why won’t my iPhone save my contact adjustments?
It’s possible that you don’t have the authority to save new contacts on your iPhone. To correct this, kindly go to the settings and look for ‘General.’
Tap ‘restrictions’ from the available menu, then ‘contacts.’ Enable new contacts to be saved if the access is granted.
Conclusion
After reading this information, we believe that you won’t have a problem with the bothersome aspect of my phone won’t save new contacts.
This is because this piece was written to give you in-depth knowledge about how to fix a phone that won’t save a new contact, and if you follow the outlined solutions provided above, in no time, you’d be a pro fixing this issue whenever it arises.
We believe that this article was of great help to you and, as such, would implore you to share it across your social media pages and engage us in the comment section if you’ve further questions.
